Overview
Blaxel supports enterprise-grade identity management through two features:- SAML SSO: Let your employees sign in through your existing identity provider (Okta, Azure AD, Google Workspace, OneLogin, etc.)
- Directory Sync (SCIM): Automatically provision and deprovision workspace memberships based on your identity provider’s directory groups
Both features require the SAML feature flag on your account. Contact us or email support@blaxel.ai to get access.
Prerequisites
- Account administrator role
- The
samlfeature flag enabled on your account - At least one verified domain: complete Domain Capture first
SAML SSO
How it works
Once configured, users from your verified domain are redirected to your identity provider’s login page instead of seeing the default Blaxel login options. After authenticating with your IdP, they are signed in to Blaxel automatically. When SAML is active, it becomes the only allowed authentication method for your domain. Other methods (Google, email, etc.) are locked out.Set up SAML SSO
1
Open Identity & Access settings
Go to Account Settings → Identity & Access.
2
Verify a domain
If you haven’t already, add and verify your company domain. See Domain Capture.
3
Open the SSO configuration portal
Scroll to SAML Identity Provider and click Configure SAML Provider.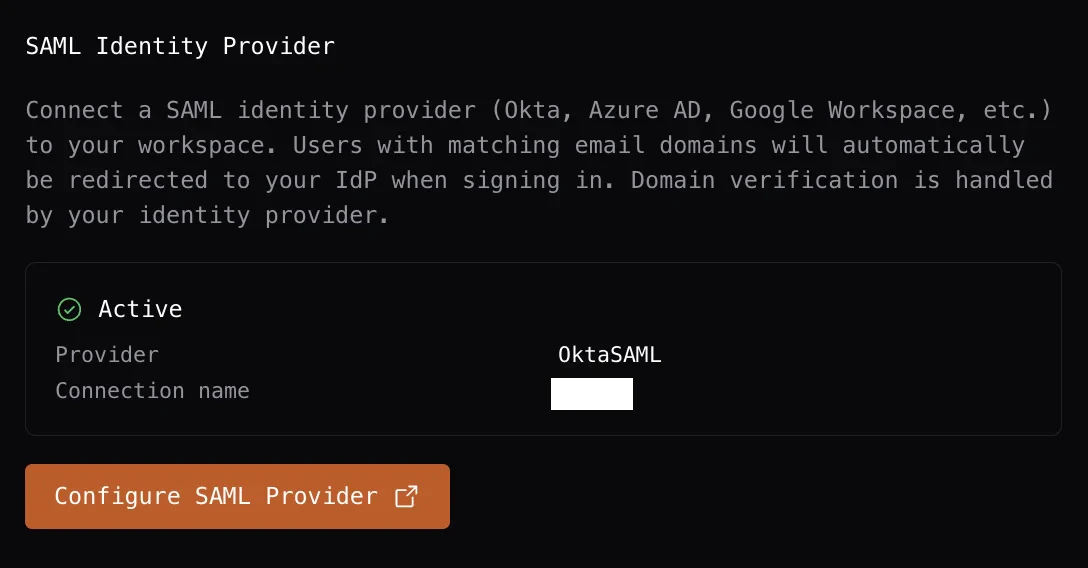
4
Configure your identity provider
In the SSO portal, follow the step-by-step instructions for your IdP. We provide setup guides for all major providers including Okta, Azure AD, Google Workspace, and OneLogin.
5
Confirm the connection is active
Return to Account Settings → Identity & Access. The SAML Identity Provider section shows Active with the provider name and connection name once setup is complete.
Single Logout (SLO)
When a SAML user signs out of Blaxel, they are also signed out of your identity provider if your IdP supports Single Logout. No additional configuration is required on the Blaxel side.Directory Sync (SCIM)
How it works
Directory Sync connects your identity provider’s directory to Blaxel. When you add or remove users from groups in your IdP, Blaxel automatically adds or removes them from the corresponding workspaces.Set up Directory Sync
1
Open Identity & Access settings
Go to Account Settings → Identity & Access.
2
Open the Directory Sync portal
Scroll to Directory Sync (SCIM) and click Configure Directory Sync.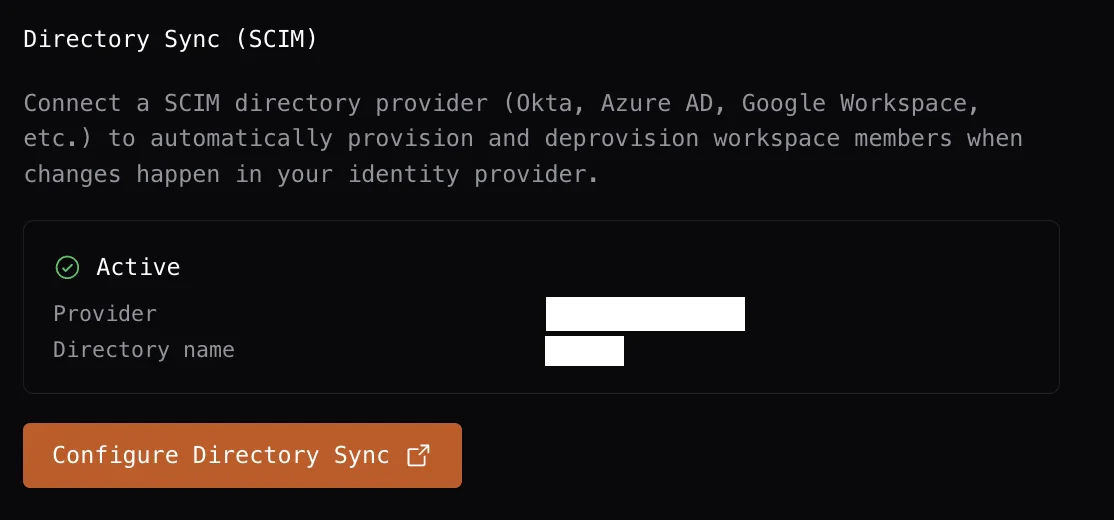
3
Connect your directory
In the portal, select your directory provider and follow the setup instructions.
4
Map groups to workspaces
After connecting, configure group-to-workspace mappings so that members of each group are automatically provisioned into the right workspaces with the right roles.
Viewing membership source in the team table
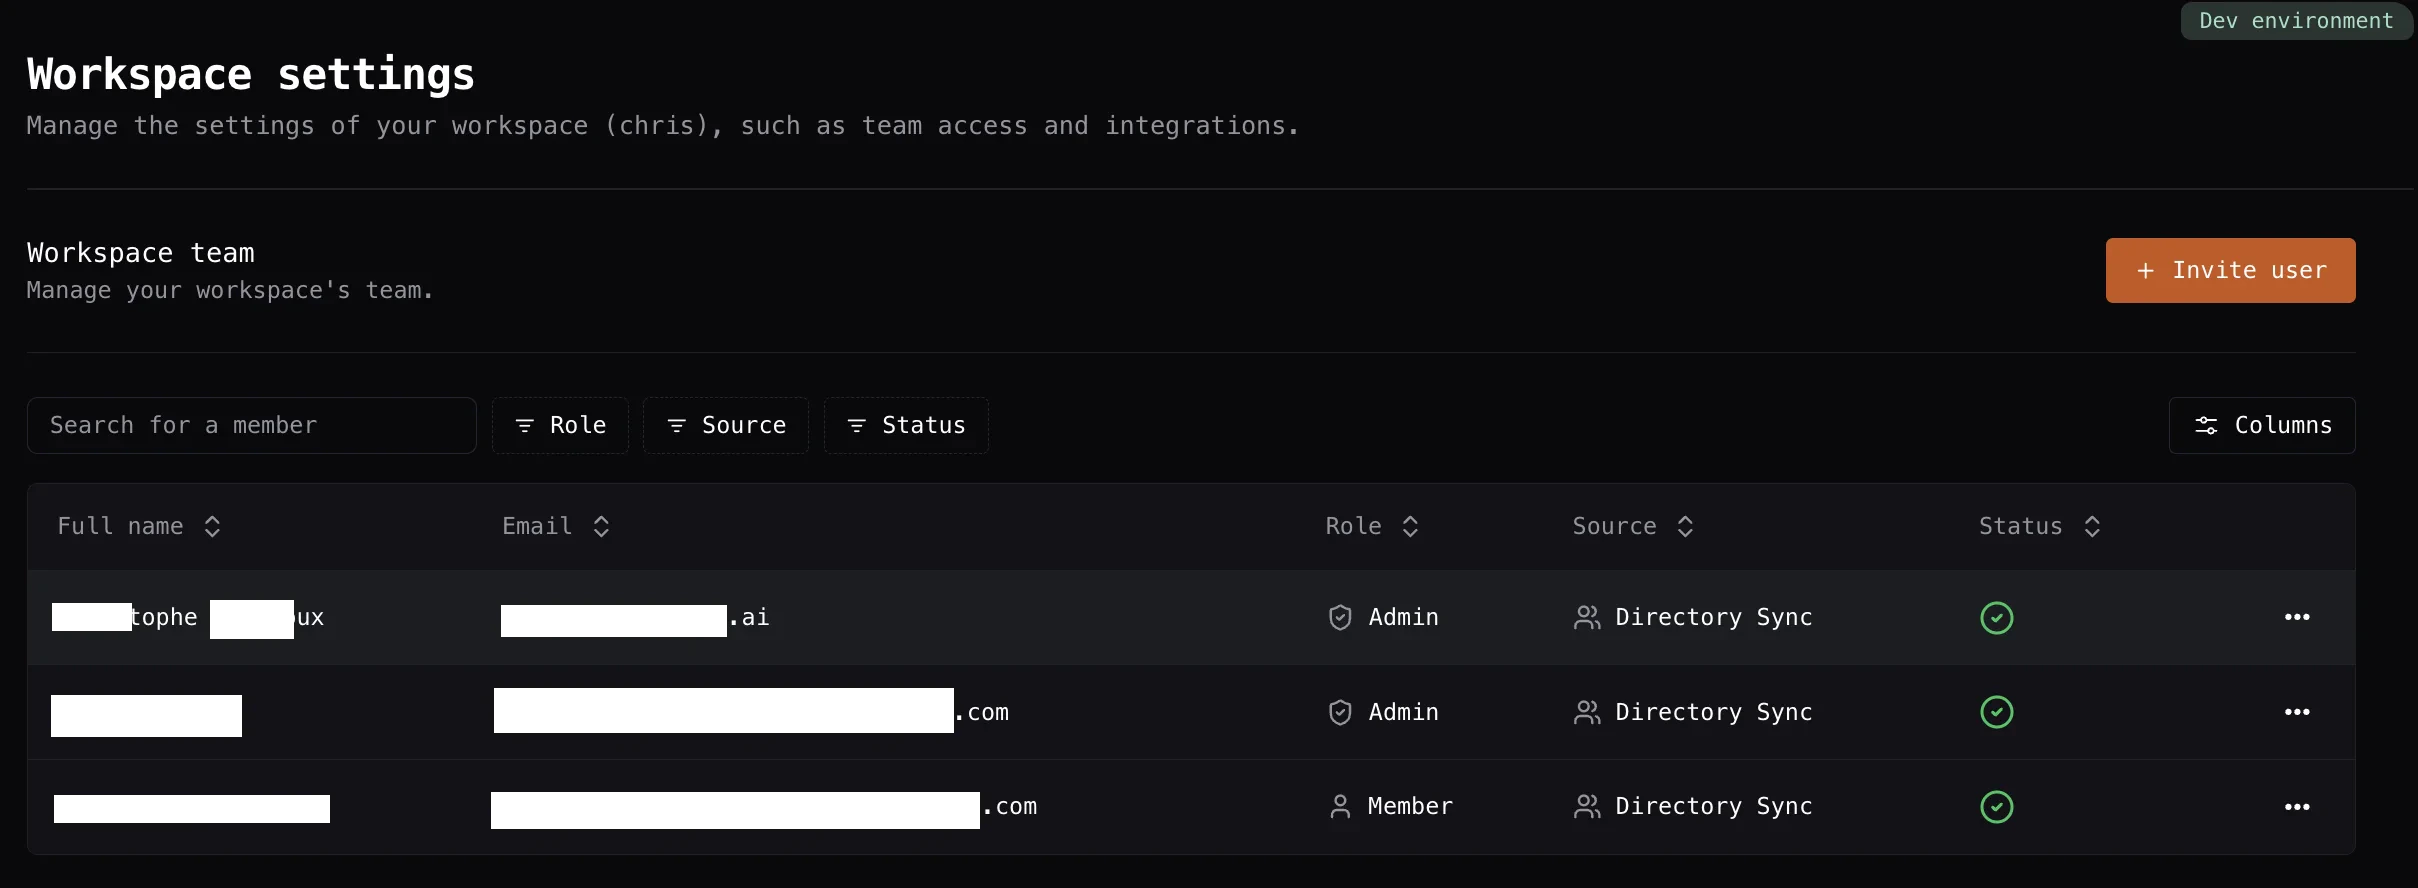
The Workspace Settings → Team table includes a Source column that shows how each member joined the workspace.